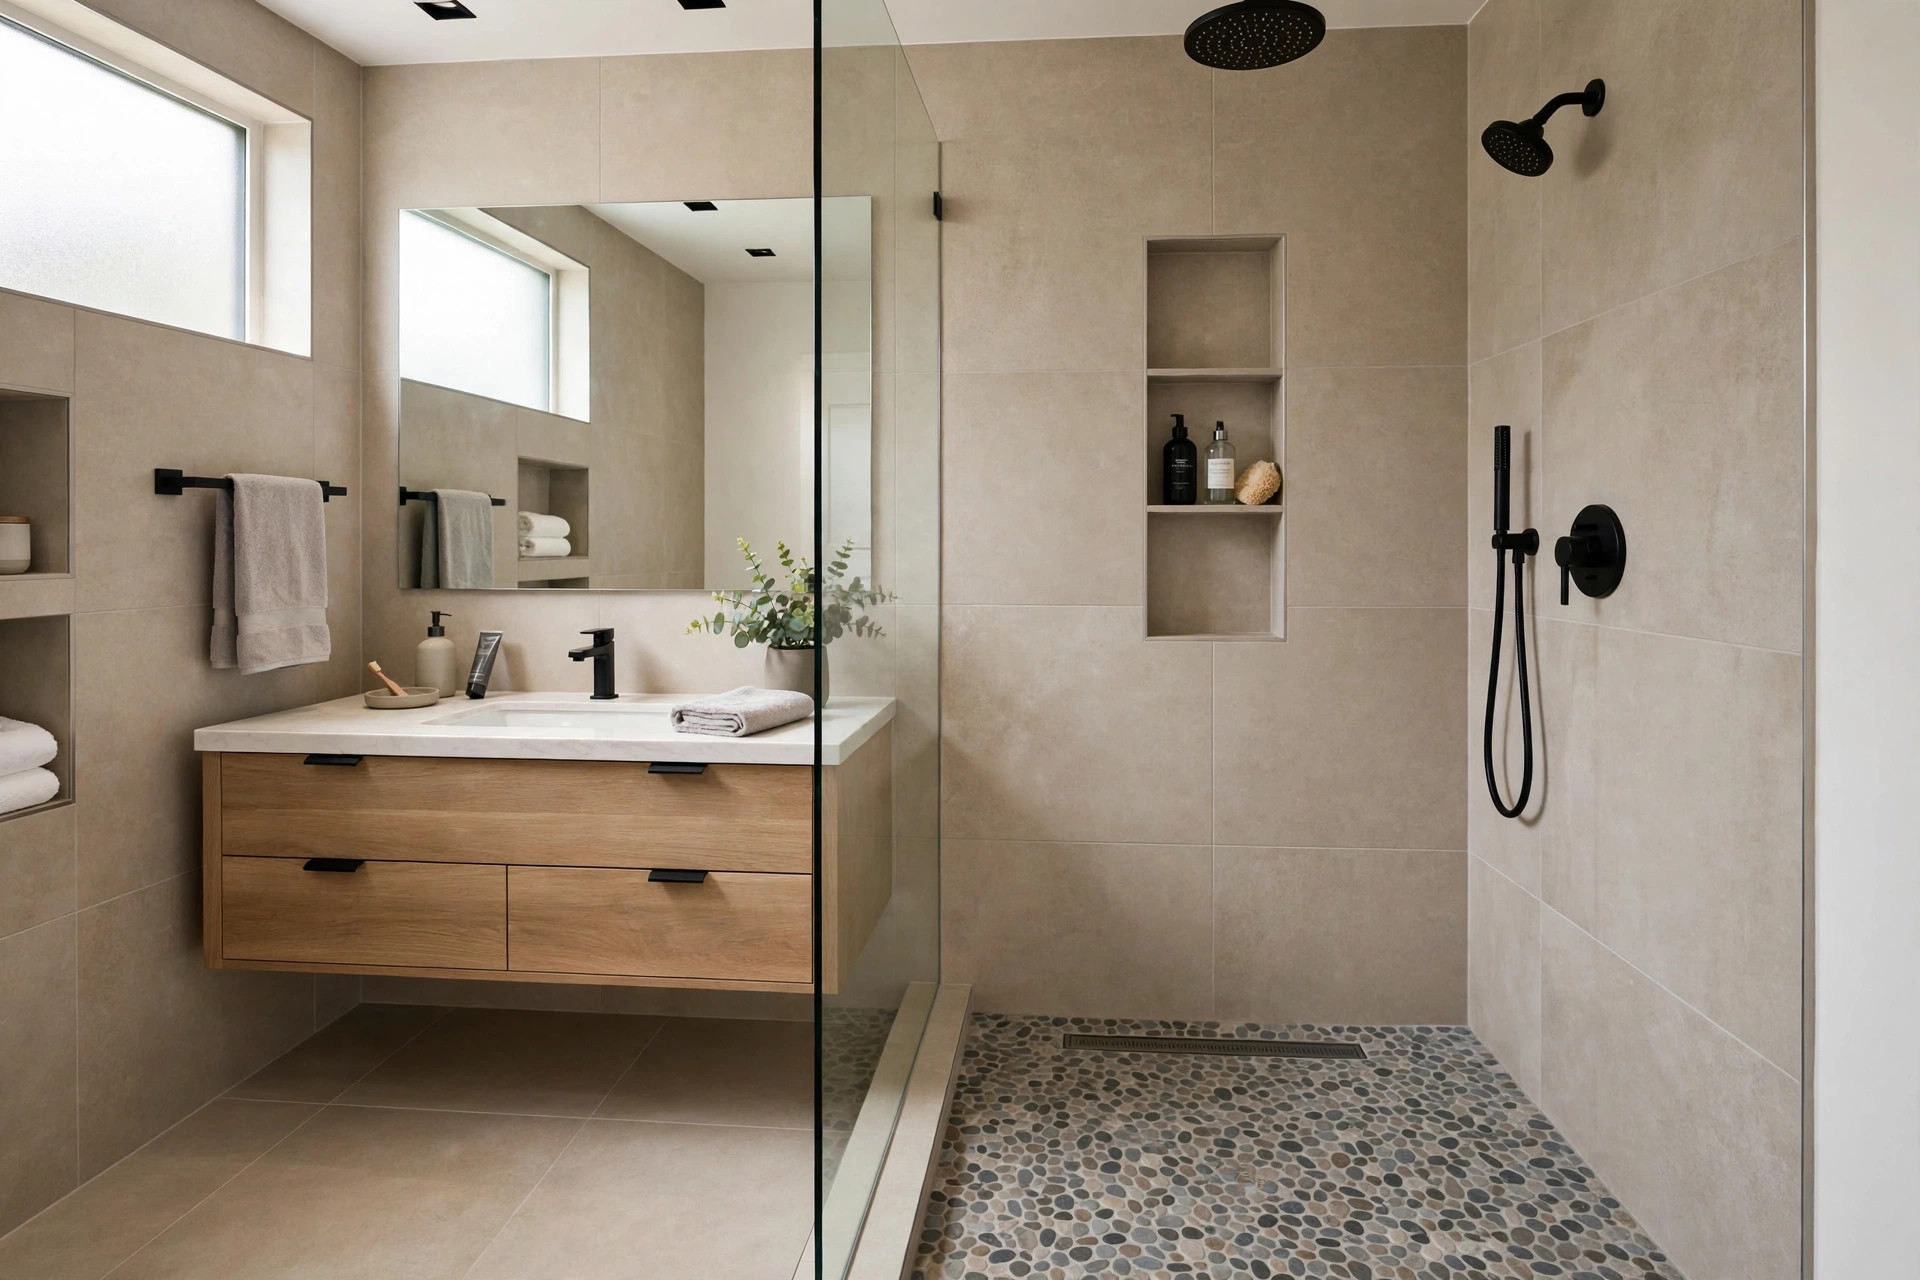
The Flood Test: Why Your Shower Pan Should Hold Water for 24 Hours Before Any Tile Goes On
A shower pan can look perfect and still leak. The only way to know before tile buries the evidence is embarrassingly simple: fill it with water, mark the level, and wait a full day. Here is how a flood test works, what it catches, and the questions to ask before your installer tiles over an untested pan.
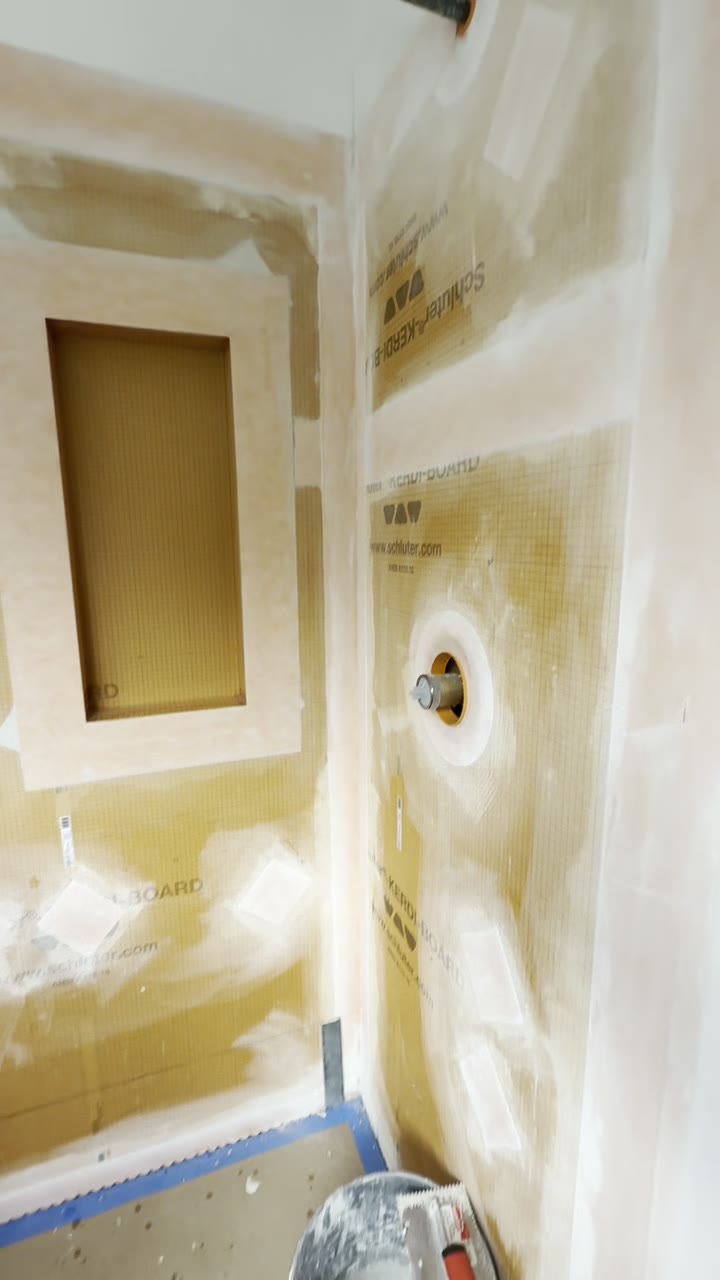
Every shower leak we have ever been called to look at had one thing in common: at some point, somebody could have caught it with a bucket of water and a pencil line. Instead, the tile went on, the grout looked great, and the water took the slow route — through a pinhole, along a seam, into the subfloor — for months or years before anyone saw a stain. A flood test is how you close that gap. It is not high technology. It is patience, applied at exactly the right moment.
This guide walks through the test step by step, the pan construction underneath it, and what the results actually tell you. If you want the full picture of the membranes themselves first, start with our guide to shower waterproofing membranes — this post is about proving the one you chose was installed right.
What a flood test actually is
The test has four steps, and none of them require special equipment:
- Plug the drain. An inflatable test ball or a mechanical plug seals the drain pipe below the drain connection, so water cannot escape down the pipe.
- Fill the pan. Water goes in up to the curb or threshold — in most showers that means roughly 2 inches deep at the drain, shallower toward the walls because the pan is sloped.
- Mark the level. A pencil or tape line at the water's edge, with the time noted. Some installers photograph the mark. So should you.
- Wait 24 hours. Then compare. The level should be exactly where you left it, allowing for a hair of evaporation on a hot, dry day.
That is the whole test. And it is not just a pro habit — some jurisdictions and building inspectors require a flood (or "leak") test of a shower pan before tile, and the TCNA Handbook, the reference the tile industry works from, treats a watertight pan as the foundation of the whole shower assembly. Requirements vary by city, so a permit inspection may or may not include it. Our position is simple: required or not, we test, because the test is for the shower — not for the inspector.
What the test catches
Standing water is merciless in a way a running shower is not. A shower sprays water that mostly runs to the drain; a flood test parks water against every weak point for a full day. Here is what it finds:
- Pinholes in a liner or liquid membrane. A traditional PVC or CPE liner can be punctured by a single stray screw or staple. A liquid membrane can have a thin spot the eye slides right over. Under 2 inches of water for 24 hours, a pinhole announces itself.
- A bad drain seal. The connection where the membrane meets the drain is the single most leak-prone detail in a shower. If the clamping ring, the bonding flange, or the sealant bead is wrong, the test finds it on day one instead of year three.
- Punctured or poorly folded corners. Corners are where liners get folded, cut, and patched — and where sheet membrane seams and pre-formed corners have to be perfect. Corners are also, not coincidentally, where showers leak first.
- Seam failures. On sheet systems, an overlap that was not fully embedded in thinset can pass a visual check and fail under standing water.
A passed test proves the whole assembly — slope, membrane, corners, drain — in your bathroom, not a product in a lab.
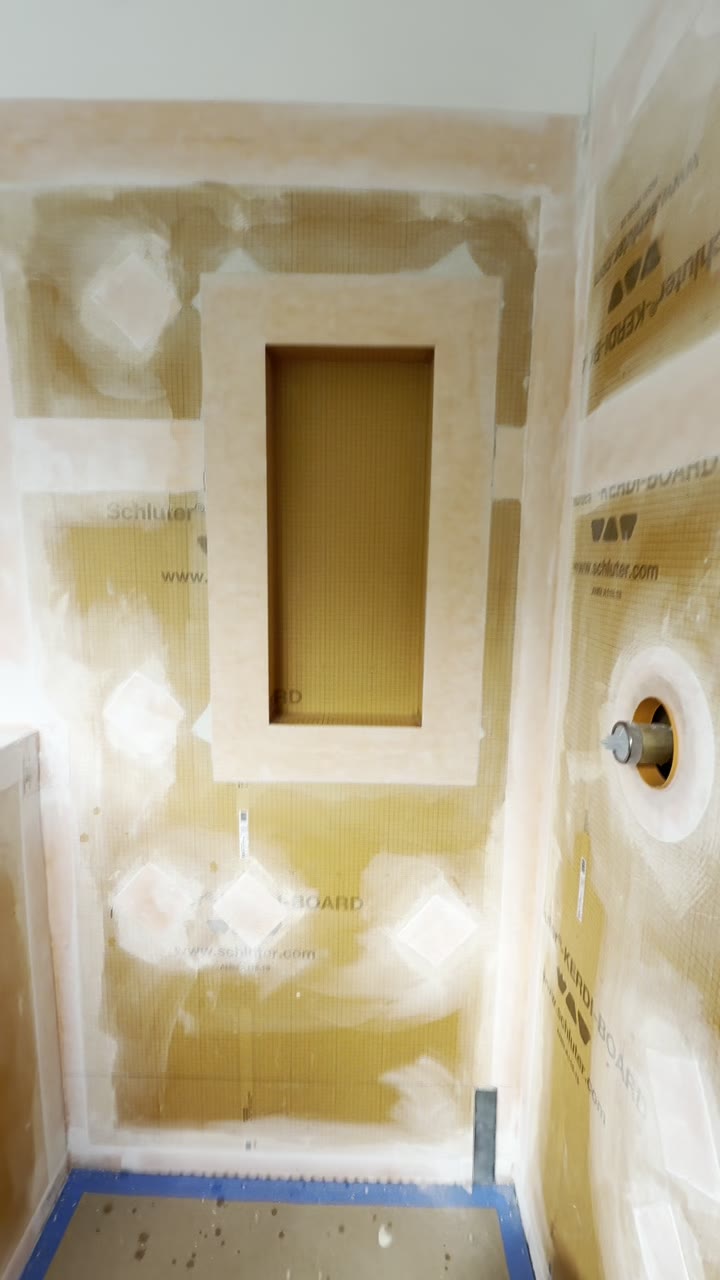
The pan underneath the test: slope, membrane, and drain
A flood test only means something if the pan under it was built correctly, so it helps to know the three pieces.
Pre-slope: 1/4 inch per foot, toward the drain
A shower floor is not flat. Under a traditional mortar-bed pan, a pre-slope of 1/4 inch per foot runs from the walls down to the drain, so any water that reaches the membrane layer is already traveling toward the drain's weep holes instead of sitting in a puddle under the tile. Skip the pre-slope — a mistake we still see in tear-outs — and water ponds on a flat liner, goes stagnant, and eventually finds or makes an exit. Modern foam trays and sheet-membrane systems build that same slope into the tray itself, but the principle is identical: the waterproof layer must drain, not just block.
The membrane: liner, liquid, or sheet
The waterproof layer itself can be a flexible liner under a mortar bed, a liquid membrane rolled onto the surface, or a sheet membrane like Schluter-Kerdi bonded over the pan. Each has honest strengths — we compared the big three in RedGard vs Kerdi vs Hydro Ban. What they share is this: every one of them can be installed badly, and every one of them can be flood tested. The product choice matters less than the proof.
The drain: where pans live or die
Traditional pans use a clamping-ring drain: the liner is sandwiched between the drain body and a ring, and weep holes let the sloped layer drain. Surface-applied membranes pair with a bonding flange drain — a wide flange the membrane bonds or clamps directly to, so the waterproof layer is continuous right into the drain. Schluter built the Kerdi-Drain around exactly that idea. Either style works. Either style fails if the seal is sloppy — which is precisely what the test is for.
Why most installers skip it
Ask around and you will hear it plainly: the flood test costs a day. The pan sits full of water while the schedule — the next trade, the glass measurement, the homeowner who wants their bathroom back — presses in. On a tight remodel, a day feels expensive. Some installers also trust their system, their experience, or the membrane brand's warranty, and treat the test as belt-and-suspenders they do not need.
Do the math on the two outcomes. A test that passes costs 24 hours. A leak discovered after tile costs the tile, the pan, usually the subfloor, sometimes the ceiling below — plus weeks of disruption. Schedule pressure is real; it is just not an argument. When we build a shower remodel, the test day is in the timeline from the start.
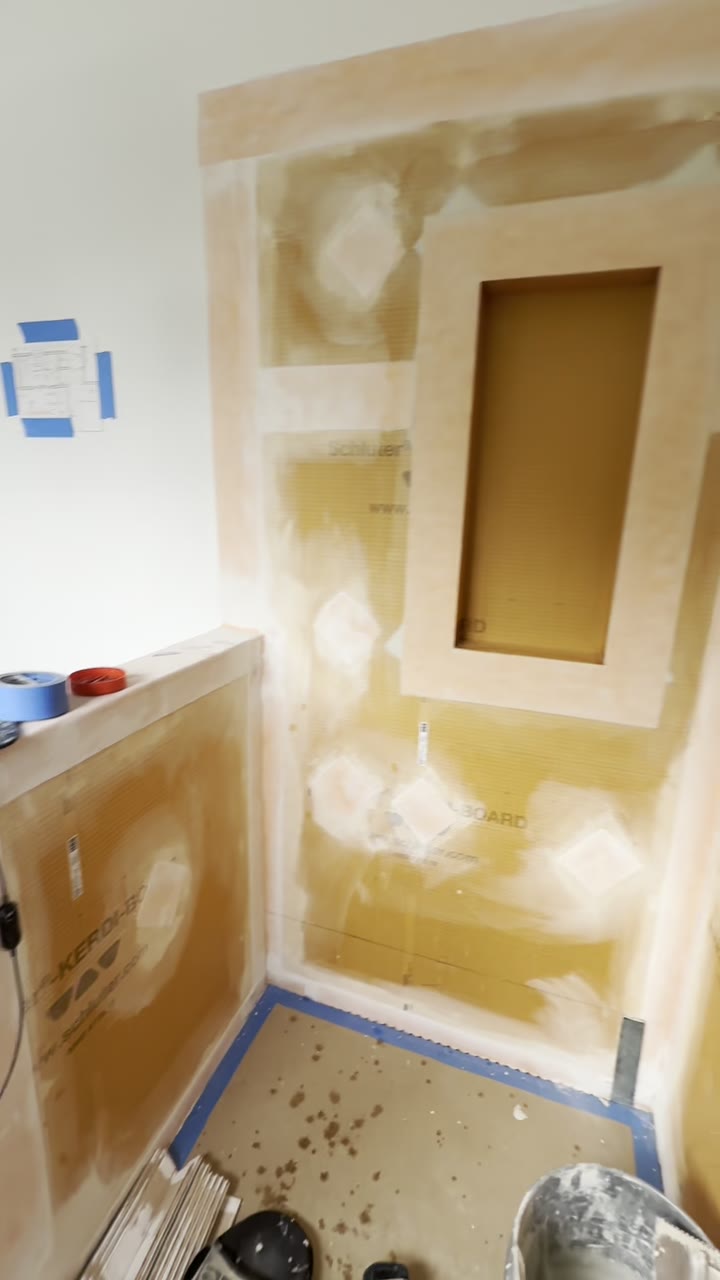
What to ask your installer
You do not need to supervise the work. You need to ask four questions before it starts, and listen to how they are answered:
- "Will you flood test the pan before tile — and for how long?" A good answer names a duration (24 hours) without hesitation. "We don't need to, our system doesn't leak" is not an answer; it is a hope.
- "Can I see the water line before and after?" A marked level, or a photo of one, is proof. An installer who tests happily shows the result.
- "What membrane and drain are you using, and how do they connect?" Listen for a named system and a named drain type — clamping ring with a liner, bonding flange with a surface membrane. Vague answers here predict vague work.
- "What happens if the test fails?" The right answer is boring: we find it, fix it, and test again, before tile. That is the entire point.
If you are already past that stage and seeing stains, soft spots, or a musty smell, the test window has closed — read what to do when a shower leaks through grout for how to read the signs. And if you are still planning, our bathroom remodel calculator will help you put the whole project — pan, waterproofing, tile, and all — into a realistic budget before anyone picks up a trowel.
Our rule, stated plainly so you can hold us to it: no tile goes on an untested pan. If an installer will not say the same, keep looking.
Thinking about this project?
Send us a few details and photos — we'll reply with a free, no-pressure estimate.
Common questions
How long should a shower pan flood test last?
A full 24 hours is the standard we work to. Fill the pan to just below the top of the curb or threshold, mark the water line, and check it a day later. Some jurisdictions and inspectors require a flood test before tile, and some require a specific duration — when in doubt, 24 hours is the number that actually proves something.
How deep do you fill a shower pan for a flood test?
Up to the curb or threshold — typically about 2 inches of standing water at the drain, less at the edges because the pan slopes up toward the walls. The point is to put every seam, corner, and the drain connection under standing water, not to fill the shower like a bathtub.
What does a flood test cost?
Very little in materials — a test plug or an inflatable ball and water. The real cost is schedule: roughly a day in the project while the test runs. Compared with tearing out a finished, leaking shower, that day is the cheapest insurance in the entire remodel.
Can you flood test a Kerdi or foam tray shower?
Yes. Sheet membranes and foam trays get flood tested the same way: plug the drain below the membrane connection, fill, mark, and wait. A bonding flange drain is designed so the membrane clamps or bonds at the drain — the test proves that connection along with every seam and corner.
What happens if a flood test fails?
You find out exactly where, while the fix is still cheap. Drain the pan, let it dry, locate the drop point — a corner, a seam, the drain seal — repair or redo that detail, and test again. A failed test before tile is a good day. The same leak found after tile is a tear-out.