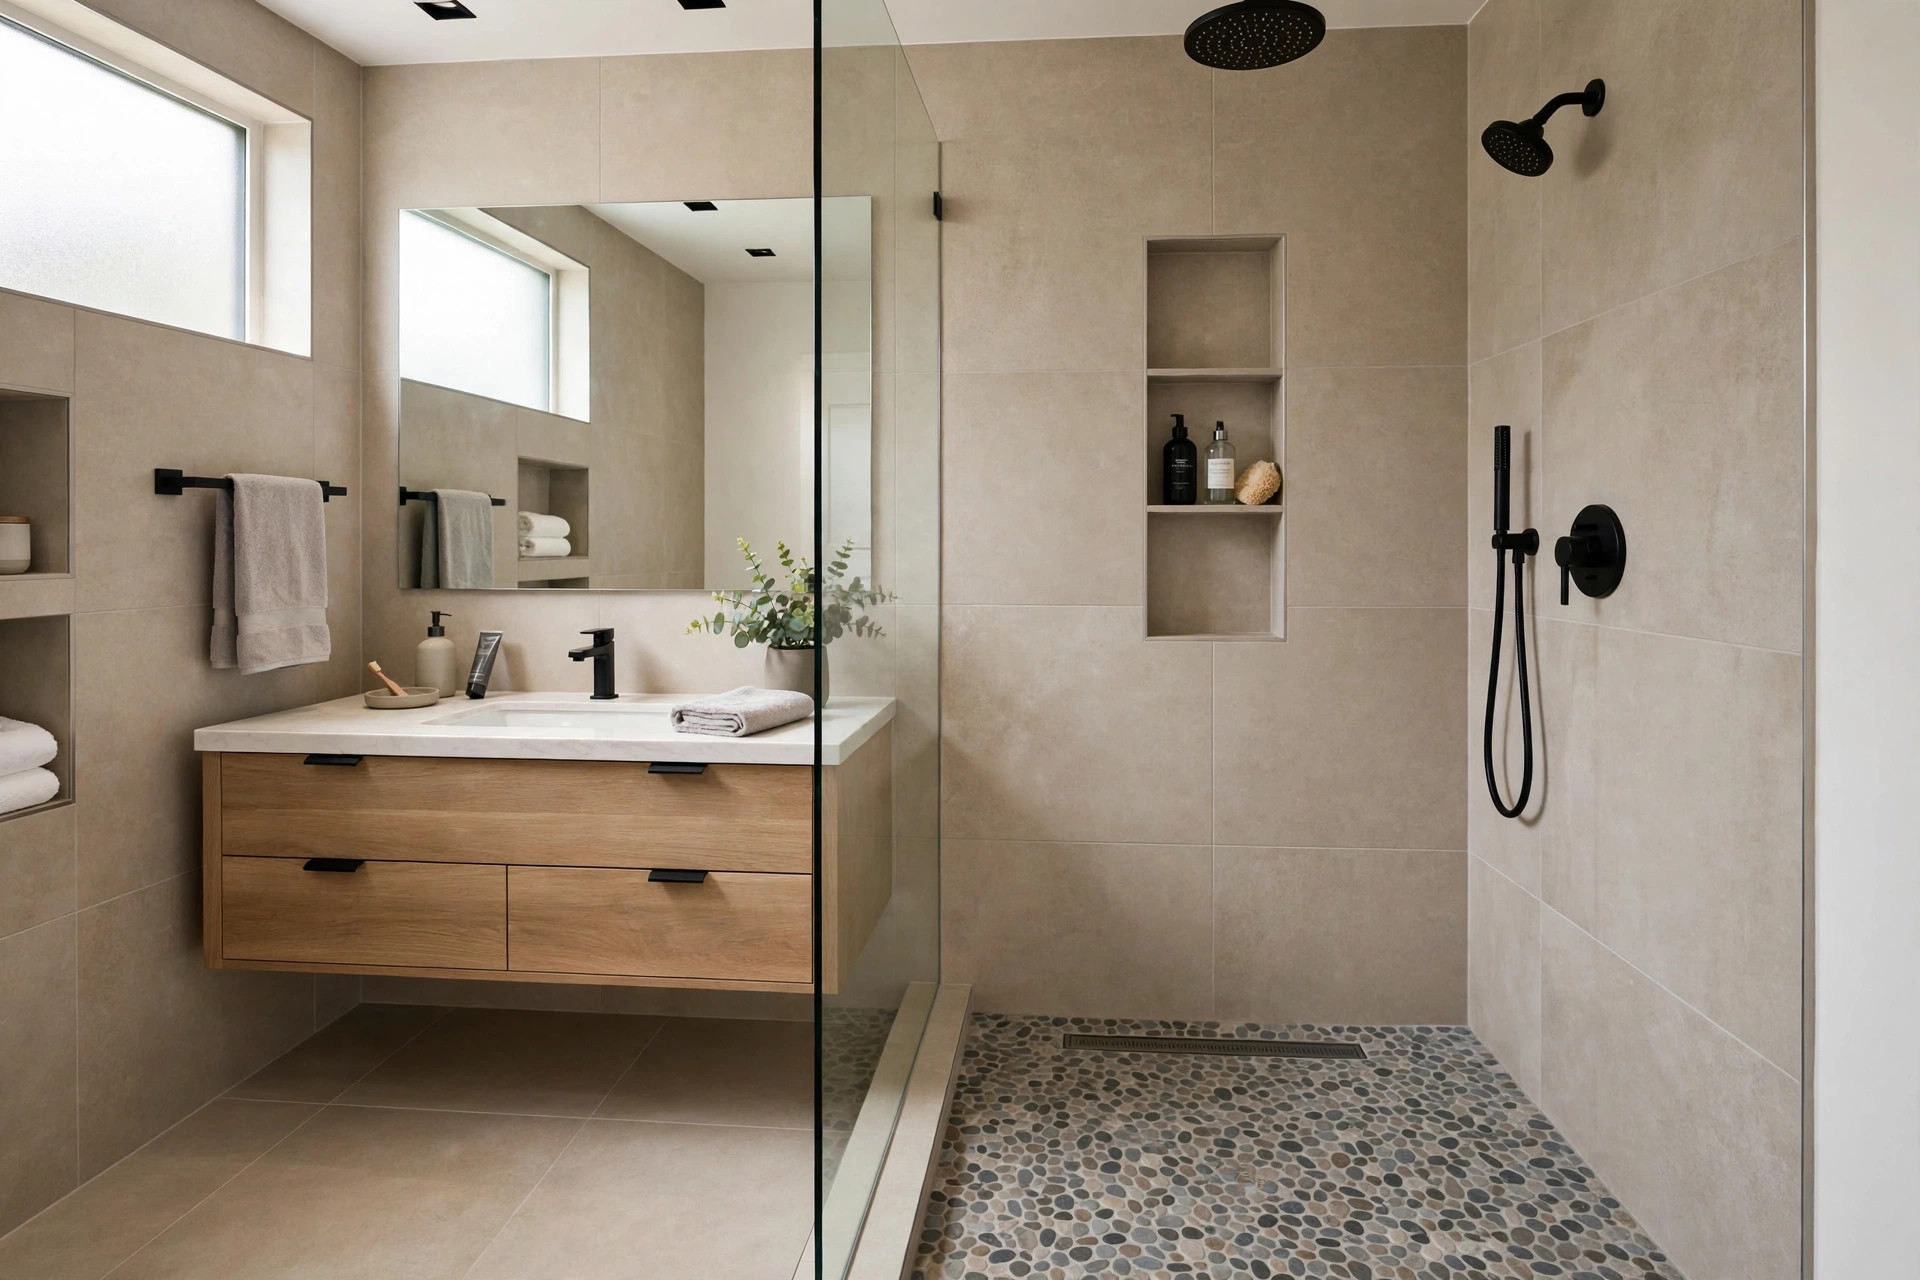
Tile Installation in Ramsey & the Twin Cities
Good tile work is decided before the first tile is set: in the flatness of the substrate, the coverage under each tile, and a layout planned from the sightlines of the room. Northline Renovations installs ceramic and porcelain tile across Ramsey, Anoka County and the Twin Cities metro — showers, floors, backsplashes and niches — with seven years in the trade and no failed bathrooms.
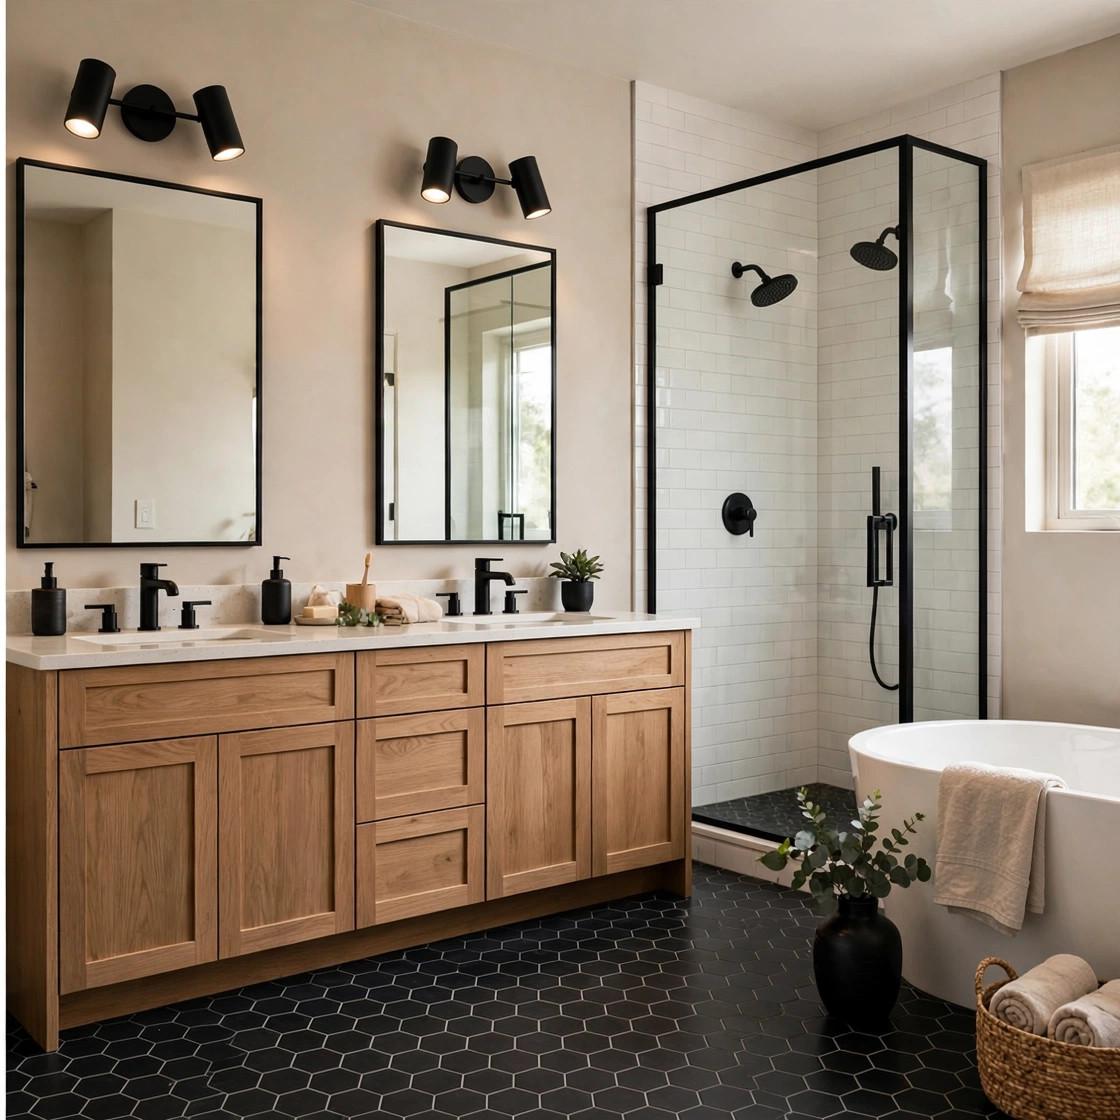
Anyone can make tile look right on the day it is grouted. The work that matters shows up two years later: no hollow spots, no cracked corners, no water behind the wall. That is a methods question, not a taste question, and this page lays out the methods we are held to on every install — the same standards we use when we install as a subcontractor under licensed general contractors. Northline Renovations LLC is registered and active in Minnesota; we take defined tile and installation scopes, while permits and licensed trades stay with the GC or the homeowner’s licensed trades.
Where we install tile
- Showers and tub surrounds — full waterproofing systems, pans, benches and niches; the highest-stakes tile in the house.
- Floors — bathrooms, entries, kitchens and laundry rooms, including large-format tile that demands a flat substrate and full mortar support.
- Backsplashes — kitchen walls where layout, outlet cuts and edge profiles are all visible at standing eye level.
- Niches and details — recessed shelves, accent walls, thresholds and transitions between tile and other flooring.
Most of our tile work lands in Coon Rapids, Blaine and the rest of the north metro, usually as one part of a bathroom remodel or a standalone shower rebuild.
Substrate prep: the unglamorous half of the job
Tile is only as flat, solid and dry as what is under it. Floors get checked for deflection and flatness — large-format tile needs a surface flat within 1/8 inch in 10 feet, which usually means grinding high spots or floating self-leveler, not hoping the thinset will absorb it. Walls in wet areas get cement board or foam board, fastened and taped to the board manufacturer’s spec. Cracked, rotted or spongy substrate found at demo gets replaced, not tiled over. Skipping prep is the cheapest bid on the table and the most expensive one two winters later.
Waterproofing to ANSI A118.10
In showers, the waterproofing is a bonded membrane meeting ANSI A118.10 — sheet membrane or liquid-applied, installed as a system with sealed corners, penetrations and drain connection, and flood-tested on the pan before tile. Grout is not waterproofing, and neither is the tile. Our pillar guide to shower waterproofing membranes compares the systems honestly, including what each costs per square foot, and the head-to-head most homeowners ask about is in RedGard vs Kerdi vs Hydro Ban.

Mortar coverage: 95% and back-buttering
Industry standard is at least 80% mortar coverage in dry areas and 95% in wet areas and under large-format tile — with no voids at corners and edges, where tiles actually break. Getting there on a 12x24 or larger tile takes three things working together: the right notch trowel for the tile size, mortar mixed to the consistency on the bag, and back-buttering — a flat key coat of thinset on the back of each tile before it is set and collapsed into the combed bed. Spot-bonding (“five dots”) is faster and is exactly how hollow, cracked floors are made. Our process for big tile, start to finish, is in large-format tile installation.
Grout in the field, silicone at changes of plane
Cement grout belongs in the field of the tile. Where the plane changes — wall to wall, wall to pan, tile to tub, tile to a different material — the joint gets 100% silicone sealant, not grout. Planes move at different rates, and a rigid grout joint at a corner is a planned crack. This is a small line in the TCNA handbook and one of the most-skipped steps in residential work; it is also the first thing we look at when a homeowner calls about a “leaking” shower that is really just failed corner joints.
Layout is planned, not discovered
Before setting, we dry-lay the pattern and choose the starting line from the most visible sightline — the door, the vanity wall, the shower glass line — so cut tiles land where the eye does not go, joints stay symmetrical at niches and benches, and slivers are eliminated by shifting the field, not by cutting a half-inch strip at the far wall. Herringbone, offsets and mosaics each get their pattern verified on the floor before mortar is mixed.
How it works
- Walkthrough and measurement. We measure, check the substrate and talk tile size and pattern — free, Monday–Friday 7 AM–4 PM.
- Written scope. Prep, waterproofing system, coverage standard and movement joints named in the quote, not implied.
- Prep and waterproofing. Substrate made flat and solid; wet areas membraned and pans flood-tested.
- Set, grout, seal. Layout set from the sightline, 95% coverage in wet areas, grout in the field, silicone at changes of plane.
For planning numbers, see what tile installation costs in the Twin Cities and run your room through the cost calculator. Then call 763-260-4117 for a free written estimate.
Thinking about this project?
Send us a few details and photos — we’ll reply with a free, no-pressure estimate. Prefer numbers first? Run your project through the cost calculator.
Common questions
How much mortar coverage should tile have?
At least 80% in dry interior areas and 95% in wet areas, exteriors and under large-format tile — with full support at corners and edges. We reach it with the correct notch trowel and by back-buttering each large tile. Spot-bonding with dabs of mortar does not meet the standard and is a common cause of hollow, cracked tile.
Is grout waterproof? Do I still need a membrane?
Grout is not waterproof — it is a cement product that absorbs water. In showers, a bonded waterproofing membrane meeting ANSI A118.10 goes behind the tile, installed as a system with sealed corners and a flood-tested pan. Tile and grout are the wear surface; the membrane is the waterproofing.
Why silicone at corners instead of grout?
Where two planes meet — wall to wall, wall to floor, tile to tub — the materials move differently, and rigid grout cracks there. TCNA guidance calls for a flexible sealant joint at changes of plane. We grout the field and silicone every change of plane, every time.
Can you install large-format tile on my floor?
Yes, if the substrate can be made flat enough — large-format tile (any side 15 inches or longer) needs flatness within 1/8 inch in 10 feet and 95% mortar coverage with back-buttering. At the walkthrough we check flatness and deflection and tell you honestly what prep the floor needs before tile.
Do you supply the tile?
Either way works. Most homeowners choose and purchase their tile, grout and trim with our quantities and waste factor in hand; we supply the setting materials, waterproofing and prep products in our scope. If you want sourcing help, we will point you to the same suppliers we buy from — no markup games.