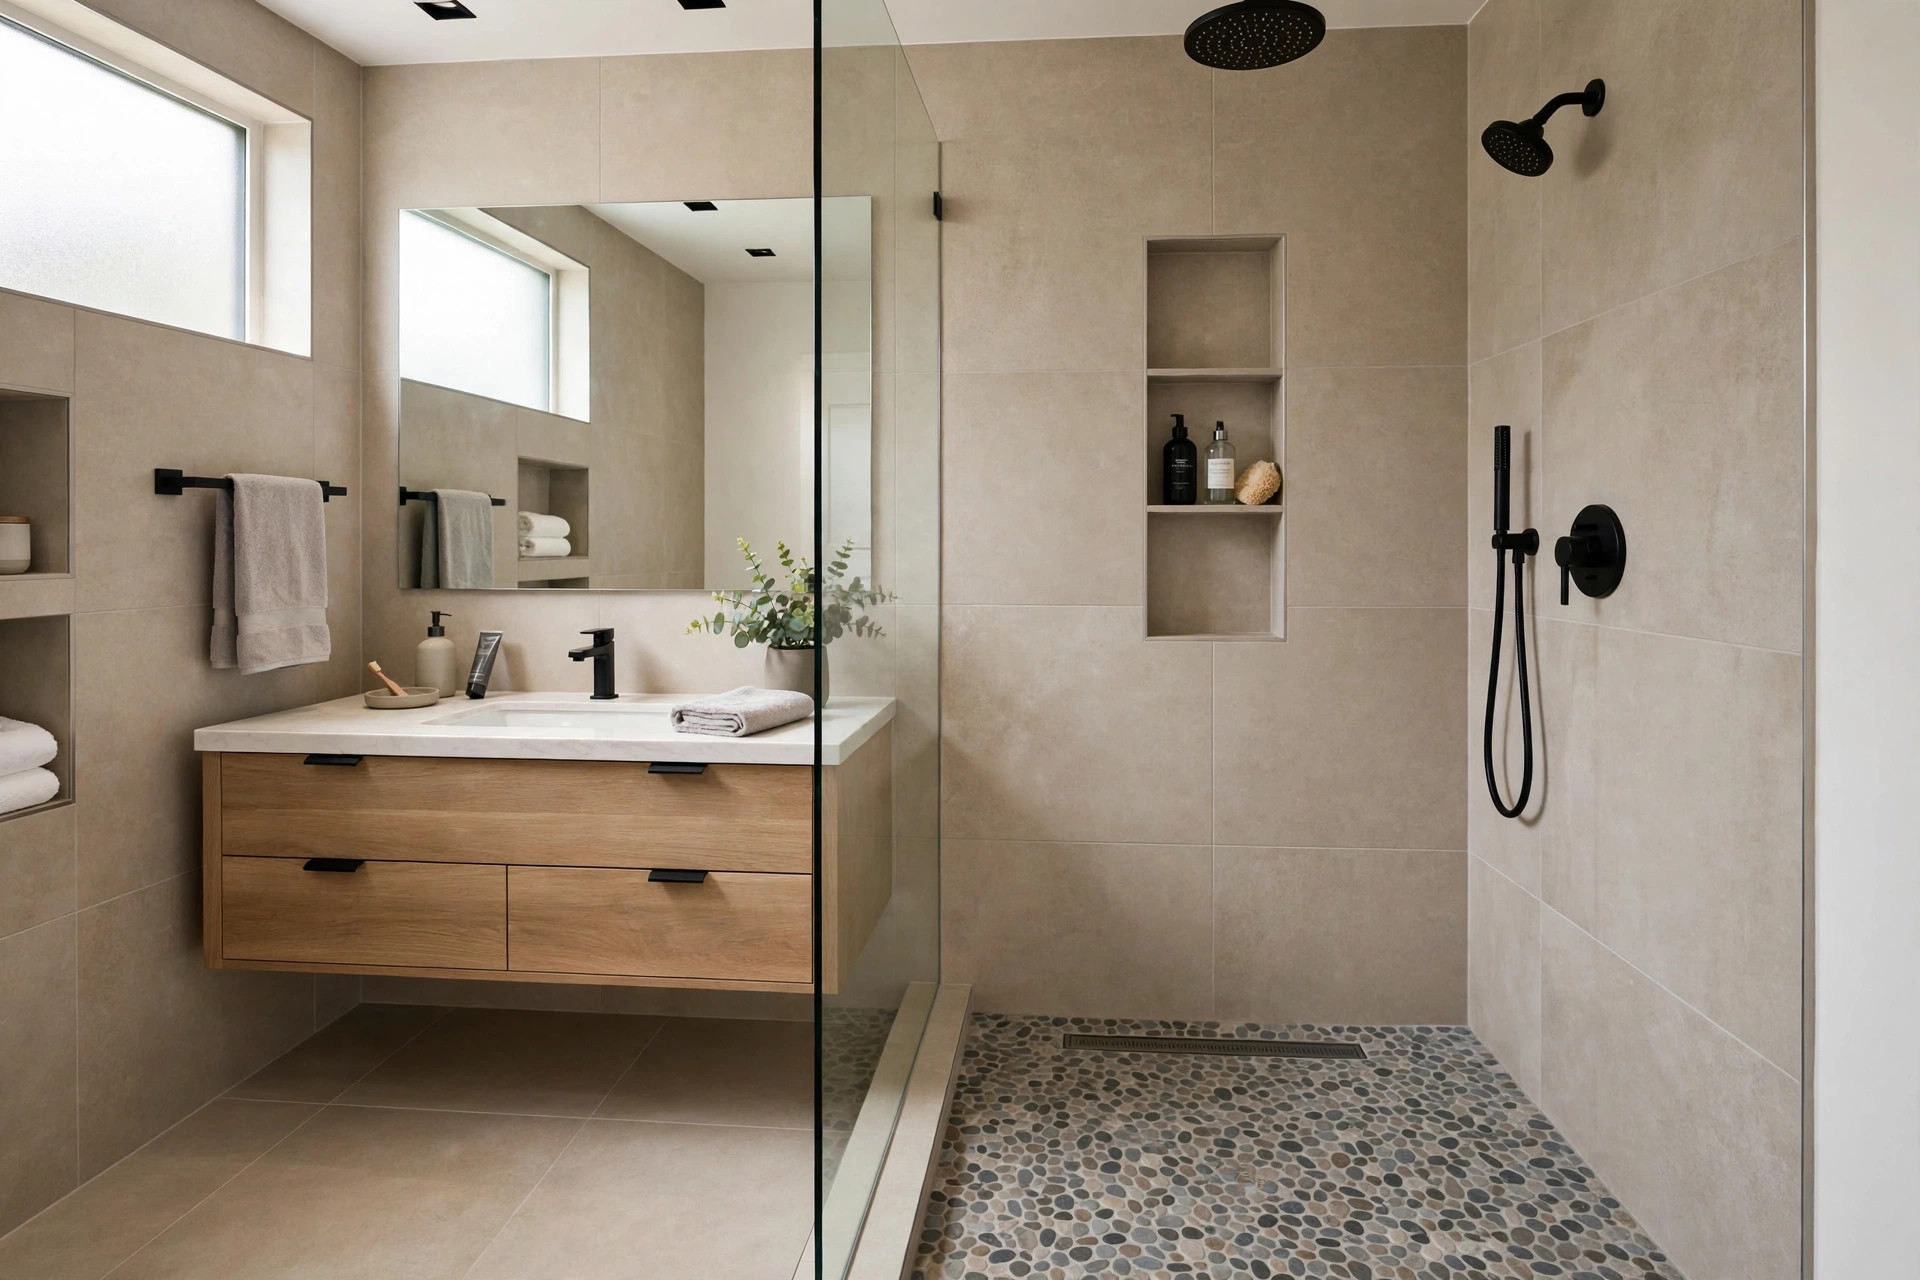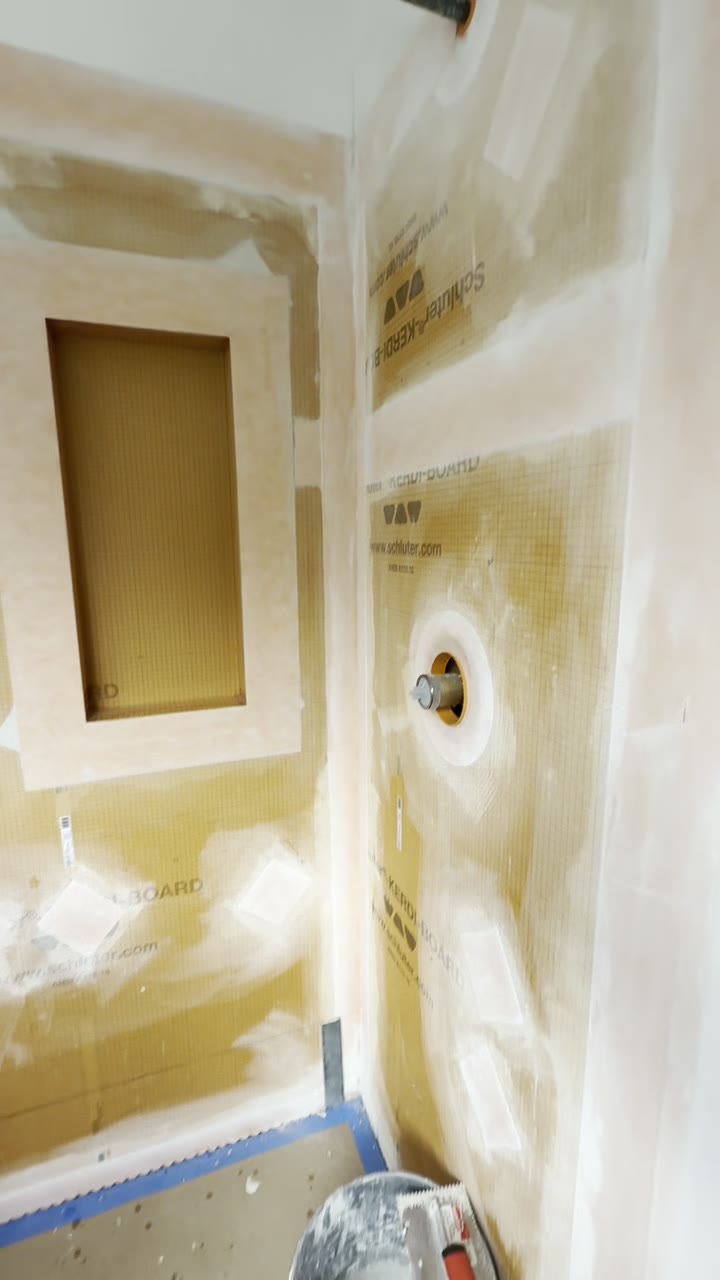
Large-Format Tile: Why Big Tiles Show Every Mistake (and the Prep That Prevents Them)
Big tile looks simple. That is exactly the trap. A 24×48 panel has nowhere to hide a bowed floor, a missed spot of mortar, or a sloppy offset — every error telegraphs straight to the surface. Here is what large format actually demands, in numbers, and the prep sequence that delivers it.

Homeowners pick large-format tile for good reasons: fewer grout lines, a calmer surface, rooms that feel bigger, showers that read as one clean plane instead of a grid. What the showroom does not show you is the tolerance stack underneath. Small tile forgives — each little piece tilts a fraction and the grout absorbs the rest. A 24-inch tile cannot: it bridges, rocks, and prints every flaw through to the surface. Large format is not harder tile. It is less forgiving tile, and the difference is entirely in the prep.
First, the definition — because the rules change at 15 inches
In the tile standards world, large-format tile is any tile with one or more edges 15 inches or longer. That sweeps in the most common tile in America right now — the humble 12×24 — along with 24×24s, wood-look planks, and the 24×48 and larger panels that fill design feeds. The moment a tile crosses that line, three requirements tighten: the substrate flatness tolerance, the mortar type and coverage, and the pattern rules. The TCNA and the ANSI A108 standards it publishes are where those numbers live, and they are the numbers a professional tile installation is built on — whether the homeowner ever hears them or not.
Flatness: the tolerance that decides everything
For tile under 15 inches, ANSI A108 allows a substrate that varies by up to 1/4 inch in 10 feet. For large format, the tolerance tightens to 3/16 inch in 10 feet — and 1/16 inch in 2 feet. Read that second number again: a sixteenth of an inch over two feet. A standard framed floor or a typical concrete slab, left as-is, often misses it by a factor of three or four — and many tile manufacturers specify an even tighter 1/8 inch in 10 feet on the box.
So the first job on any large-format project is not tile at all. It is measurement: a 10-foot straightedge or a long level run across the floor in several directions, hunting humps and dips. Humps get ground down. Dips and general waviness get corrected with self-leveling underlayment or trowel-applied patch, then re-checked. This is unglamorous, unphotogenic work — and it is most of what you are paying for when a large-format quote comes in higher than a standard one. An installer who starts mixing mortar on day one without ever putting a straightedge on your floor has told you how the job will end.
Mortar coverage: 95%, back-buttering, and medium-bed
Flatness gets the tile level. Coverage keeps it alive. The standard for large format — and for all tile in wet areas — is 95% mortar coverage under each tile, with full support at every corner and edge. (Dry interior floors with smaller tile allow 80%; showers and large format do not.) A tile with a void under a corner is a tile waiting for a dropped shampoo bottle, a heel strike, or a freeze of stress it cannot shed. It sounds hollow when you knock on it, and hollow is not a cosmetic issue — it is a fracture scheduled for later.
Three techniques get you to 95%:
- Back-buttering. A flat, thin layer of mortar is troweled onto the back of each tile before it is set, filling the tile's textured back profile. On big, heavy pieces this is not optional — it is how the combed ridges on the floor actually marry the tile instead of trapping air between them.
- Medium-bed mortar. Large-format work calls for mortar rated for a thicker bed (often labeled LHT — large and heavy tile). Standard thinset slumps and shrinks when built out; medium-bed is formulated to hold a 1/2-inch-plus bed under a heavy tile without sagging or shrinking away from it.
- Comb direction and collapse. Trowel ridges run in one direction so air can escape as the tile is slid and beaten in, collapsing the ridges into a continuous bed. Swirled troweling traps air pockets — each one a void, each void a failure point.
How do you verify coverage? On the job, the honest method is occasional and destructive: lift a freshly set tile and look. The back should be a near-complete print of mortar. A pro does this without being asked. You are allowed to ask.
Lippage, offset, and the 33% rule
Lippage is the height difference between the edges of two adjacent tiles — the toe-catcher, the shadow line you can see raking across a floor in low light, the thing that makes a finished job look amateur. Large tile is prone to it for a physical reason: most tiles are not perfectly flat. They carry a slight manufacturing crown, with the center a hair higher than the edges, within allowed tolerances.
That crown is why brick-lay (running bond) offsets for large-format tile are capped at 33%. At a classic 50% offset, the crowned center of one tile sits directly beside the low edge of the tile above it — maximum high meets maximum low, and lippage peaks. At a 33% offset, high sits nearer to mid-height, and the difference stays within what ANSI lippage limits and your eye will accept. Many manufacturers print the maximum offset right on the box. When a homeowner asks for a 50% brick pattern with 12×24s, the professional answer is an explanation, not a shrug — and if the pattern matters more than the warning, the installer should say clearly what will show.
Leveling clips — the wedge or spin systems that clamp adjacent tiles flush while the mortar cures — genuinely help manage edge alignment, and we use them on large format. But understand their limit: clips align edges. They do not flatten a floor, they do not fill voids, and pulling tiles flush against a crowned neighbor over a wavy substrate can actually lift a center off its mortar bed. Clips are the last 5% of flatness, not a substitute for the first 95%.
Grout joints: sizing is engineering, not taste alone
Homeowners often ask for the tightest joint possible, and on the right tile that is fine. Rectified tile — edges mechanically cut to exact size — can run a 1/16 to 1/8 inch joint. Non-rectified (cushioned-edge, size varies slightly piece to piece) needs 3/16 inch or more so the joint can absorb the variation instead of telegraphing it as wandering lines. Joints also do structural work: they give the field room to move, which is why grout is never a substitute for the soft movement joints a proper installation includes at changes of plane and around the perimeter. Pick the joint from the tile's specification sheet first and your preference second — in that order, the result looks like the photos. Reversed, it looks like a warning.
What this means for your project
None of this is a reason to avoid large-format tile. Set correctly — flat substrate verified with a straightedge, medium-bed mortar, back-buttered, 95% coverage, offset respected, clips as a finishing aid — it is durable, beautiful, and easier to clean than any small-tile field. It is simply a product that moves the skill requirement from the tile layer to the prep layer, and your quote should show it: substrate correction, LHT mortar, and leveling systems are line items, not rounding errors. Our guide to the waterproofing underneath a shower covers the layer below the floor tile, and the remodel calculator will help you sanity-check the overall budget.
Planning a floor or shower with big tile? Read our breakdown of tile installation cost in the Twin Cities next — it shows exactly how format and prep move the per-square-foot price — then send us the project and we will tell you what your substrate needs before we talk about tile at all.
Thinking about this project?
Send us a few details and photos — we'll reply with a free, no-pressure estimate.
Common questions
What counts as large-format tile?
Any tile with at least one edge 15 inches or longer. A standard 12×24 is large format, and so are 24×24 and 24×48 planks and panels. The definition matters because large format triggers stricter substrate flatness tolerances, different mortar, and higher coverage requirements.
How flat does a floor need to be for large-format tile?
Per ANSI A108 standards, the substrate for large-format tile must be flat within 1/8 inch in 10 feet and 1/16 inch in 2 feet — twice as tight as the 1/4 inch in 10 feet allowed for smaller tile. Floors outside that tolerance get corrected with self-leveler or patch before any mortar is mixed.
Why is brick-lay offset capped at 33% for large-format tile?
Most large tiles have a slight crown — the center sits a little higher than the edges. At a 50% running-bond offset, the high center of one tile lands next to the low edge of the next, which maximizes lippage. Capping the offset at 33% (many manufacturers specify it on the box) keeps that height difference within an acceptable range.
Do leveling clips fix an uneven floor?
No. Leveling clips and wedges align the edges of adjacent tiles while the mortar cures — they manage lippage between tiles, they do not flatten the substrate and they do not create mortar coverage. A clip system on a wavy floor over voids still produces a floor that sounds hollow and can crack.
What grout joint width is right for large-format tile?
It depends on the tile. Rectified tile (precisely cut edges) can run a tight 1/16 to 1/8 inch joint; non-rectified tile usually needs 3/16 inch or wider to absorb size variation between pieces. The joint also has to be wide enough for the pattern and offset you choose — your installer should confirm the manufacturer's minimum on the box.