Flooring Installation in Ramsey & the Twin Cities
Floors fail from underneath. Click-lock planks separate over an unlevel subfloor, and tile cracks over a spongy one — the product gets blamed for a prep problem. Northline Renovations installs luxury vinyl plank (LVP), luxury vinyl tile (LVT) and tile flooring across Ramsey, Anoka County and the Twin Cities metro, and the largest part of every job is the part you will never see: the subfloor.
We install three families of flooring, and we will steer you between them honestly, because we set all three: rigid-core LVP and LVT that click together, and porcelain or ceramic tile set in mortar. They suit different rooms, budgets and households — a basement family room in Ramsey, a bathroom in Blaine, and a mudroom that sees Minnesota winters are three different conversations. Northline Renovations LLC is registered and active in Minnesota; flooring is a defined installation scope we take with homeowners and under licensed general contractors, with permits and licensed trades staying where they belong — with the GC or the homeowner’s trades.
LVP and LVT: what good installation looks like
Quality rigid-core vinyl is genuinely waterproof as a plank — but “waterproof plank” does not mean “any floor, any condition.” Click-lock joints are precision parts: over a subfloor that waves more than the manufacturer’s tolerance (commonly 3/16 inch in 10 feet), joints flex, unlock and peak. Our install includes checking the whole field with a long straightedge, grinding or filling to tolerance, acclimating product per the manufacturer’s instructions, staggering joints properly, and leaving the specified expansion gap at every wall and fixed object — covered by trim, never pinched by it. LVT in a bathroom gets its seams and perimeter detailed for wet use; in kitchens and entries it is often the best value per year of service of anything we install.
Tile floors: prep is the product
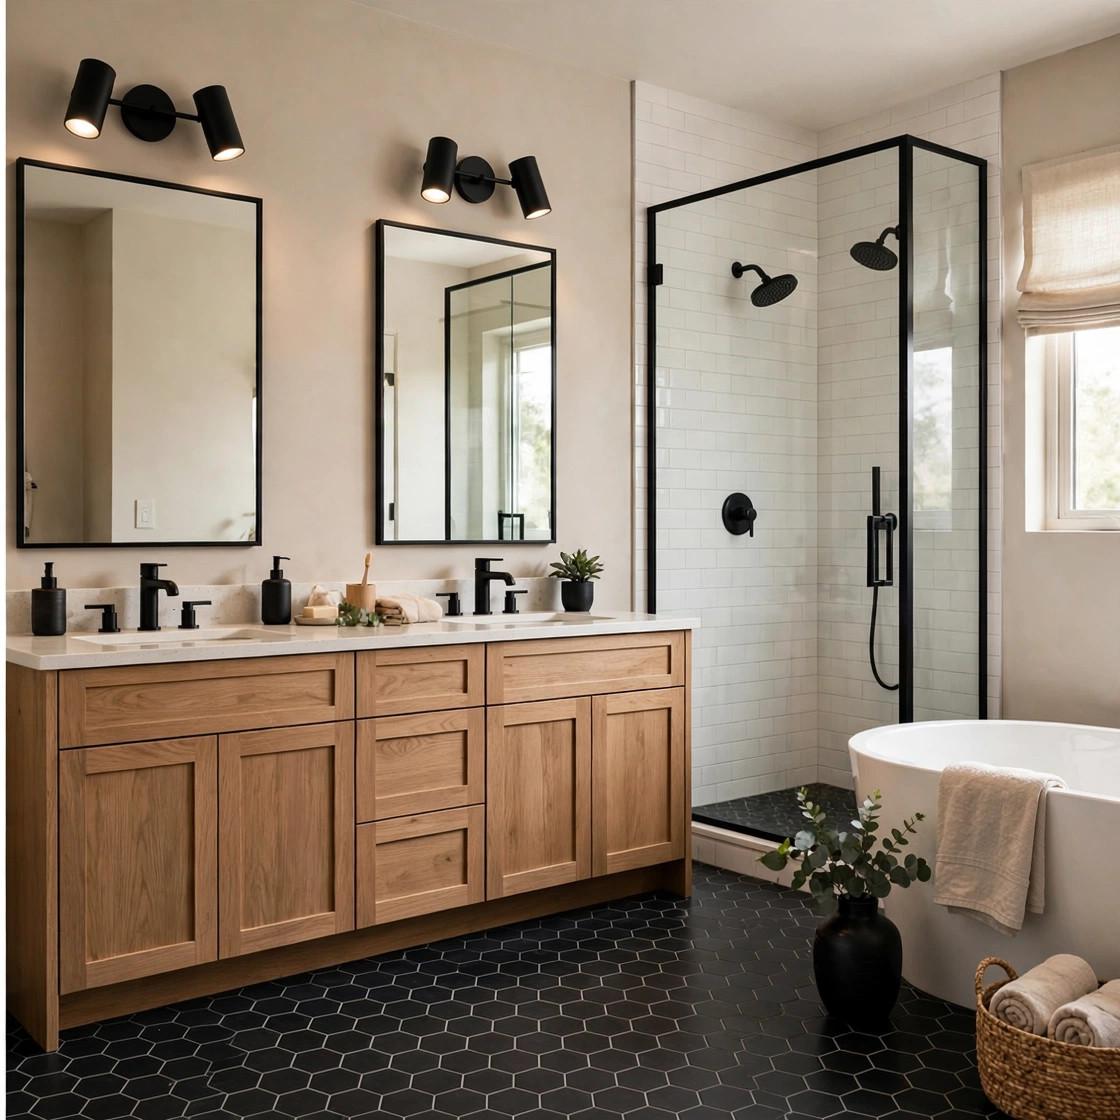
For bathroom and entry tile, the subfloor system decides whether the floor is still perfect in ten years: joist and subfloor deflection checked (tile needs a stiffer floor than vinyl — L/360 minimum, stiffer for stone and large format), underlayment or uncoupling membrane installed to spec, and flatness within 1/8 inch in 10 feet before large-format tile is set with 95% mortar coverage and back-buttering. That is the same discipline we bring to our tile installation work, applied to the horizontal plane. If your floor project is part of a full bath, see how it sequences inside a bathroom remodel.
Subfloor prep and leveling
- Inspection first. Old flooring comes up and the subfloor is read honestly: water damage near tubs and dishwashers, squeaks that mean loose panels, particleboard underlayment that must go before any wet-area install.
- Flatten, then level. Self-leveling underlayment where the field needs it, patch compound at transitions, grinding on slab high spots. “Flat” and “level” are different things — floors need flat; we make them both where the room allows.
- Underlayment matched to the floor. Uncoupling membrane under tile, foam or cork underlayment where a vinyl product specifies or benefits from it, and a vapor retarder on below-grade slabs where the product requires one.
Transitions and trim: where installs look finished or don’t
Every floor ends somewhere — at carpet, hardwood, a tub, a stair nosing, an exterior door. We plan transition profiles before the first plank or tile: reducer and T-moldings in matching finishes, metal profiles where tile meets vinyl, and undercut door casings so flooring slides under trim instead of being notched around it. Baseboards come off and go back on (or get shoe molding where removal risks damage), and the expansion space vinyl needs is hidden, not eliminated. This is the hour of work that separates a floor that looks installed-by-a-pro from one that looks installed-over-a-weekend.
Moisture and Minnesota basements
Below-grade concrete in Minnesota carries moisture vapor year-round and sees its worst conditions in spring thaw. Before any basement floor goes down we check the slab — visible efflorescence, a simple tape-down plastic moisture check, and honest questions about past seepage. Rigid-core vinyl is usually the safest basement choice because the plank itself will not feed mold or swell; tile over slab works too with the right membrane strategy. What neither survives is active water intrusion — if the slab has a water problem, the answer is fixing drainage first, and we will say so instead of selling you a floor over it.
How it works
- Walkthrough and measure. We check the subfloor, moisture conditions and transitions, and confirm product choice for the room — free.
- Written scope. Removal, prep and leveling, underlayment, product, transitions and trim listed line by line.
- Prep day(s). Demo, subfloor repair, flattening and underlayment — the schedule allows curing time where levelers are used.
- Install and finish. Floor set or clicked in, transitions and trim fitted, room left clean and walkable.
Price your rooms in the cost calculator, sanity-check against our Twin Cities bathroom cost guide if the floor is part of a bath project, and call 763-260-4117 — Monday–Friday 7 AM–4 PM — for a free written estimate.
Thinking about this project?
Send us a few details and photos — we’ll reply with a free, no-pressure estimate. Prefer numbers first? Run your project through the cost calculator.
Common questions
LVP or tile — which is better for a bathroom floor?
Both work when installed correctly; they fail differently. Tile is harder, longer-lived and pairs with radiant heat, but demands a stiff, flat subfloor and costs more to install. Rigid-core LVP is warmer and quieter underfoot, faster to install, and forgiving of minor subfloor movement — but its click joints still need a flat floor. At the walkthrough we look at your subfloor and household and recommend one, with reasons.
Can you install flooring over my existing floor?
Sometimes, and we will tell you when it is a bad idea. Vinyl over a single layer of sound, well-bonded sheet vinyl can be acceptable per the manufacturer; tile almost never goes over an existing finished floor in our work — height, bond and deflection all argue for removal. Stacked floors also steal door clearance and stair proportions. Demo is usually the honest scope.
How flat does my subfloor need to be?
For click-lock vinyl, most manufacturers specify no more than 3/16 inch variation in 10 feet; for large-format tile, 1/8 inch in 10 feet. We measure the whole field with a straightedge at the walkthrough and include the grinding, patching or self-leveling needed to meet the spec for your product — before install day, not as a surprise during it.
Is vinyl flooring a good choice for a Minnesota basement?
Rigid-core LVP/LVT is usually our first recommendation below grade: the planks will not swell or feed mold, and they handle slab temperature well. We still moisture-check the slab first, use a vapor retarder where the product requires one, and will not install over active water intrusion — that is a drainage problem to fix first, whatever floor you choose.
Do you remove and replace baseboards and transitions?
Yes — transitions and trim are part of the written scope, not an afterthought. Baseboards are removed and reinstalled where practical (or finished with shoe molding where removal would damage them), door casings are undercut so flooring passes under them, and every material change gets a proper profile rather than a caulk line.